
The Mail Plane: Cape York Peninsula
Trip One and Trip Two: (Included separately in this archive)
Mission Storyline:
Commonly known as the Mail Plane, this is a regular weekly air transport service for the carriage of passengers and goods such as, educational materials, medicines, fresh foods and other urgent supplies to communities in remote and isolated areas of Australia. The Federal Government’s Remote Air Services Subsidy (RASS) Scheme is one of the most important transportation services in Australia.
A RASS community that these types of flights service is typically a cattle station or an Indigenous community with a population ranging from six people to approximately 200 people.
There are 10 geographic regions under the RASS Scheme, with air operators contracted by the Australian Government to provide a regular air transport service. The RASS scheme subsidises flights to 269 remote communities throughout Queensland, Northern Territory, South Australia, Western Australia and Tasmania, including many Indigenous communities.
Due to the distances involved and with road access to many communities often cut for several months during the wet season, a regular air service offers the only reliable means of transport. Mail is carried on these flights under a separate contract with Australia Post.
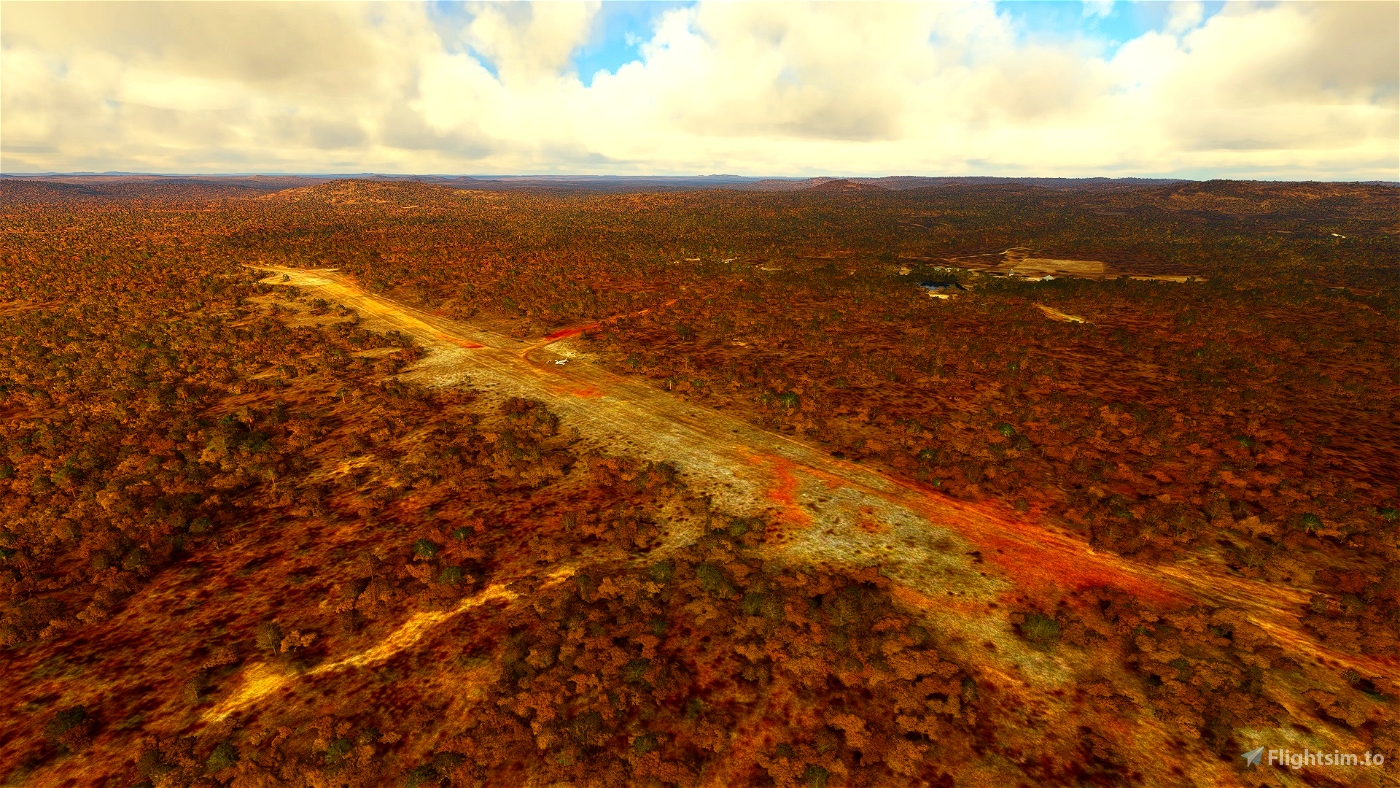
On this trip you will be the pilot on a mail plane route providing service in the remote Cape York Peninsula region using the Cessna C208B Grand Caravan.
This adventure set has two trips.
NOTE: Required Scenery Needed
Far North Queensland Missing Airfields for MSFS
https://flightsim.to/file/28862/far-north-queensland-airfields
(Make sure you also have the required dependency libraries called for on the description for this download on Flightsim.to)
Installation
Place this archives two separate main folders into your community folder. Load up the simulation. All 3rd-party bush trips can now be found inside the sim by going to the Activities → Custom Content area. You’ll need to scroll all the way to the right of the Activities screen to see that option. Once there you will see the two separate Mail Plane Trips. Load the flight of your choice by clicking on the Activity Image for that bushtrip.
This is part of a planned series of adventure flights that will visit destinations in Microsoft Flight Simulator using pre-selected routes that your aircraft will follow using the autopilot. Altitude choices are based on VFR cruising altitudes planning where the standard practice is that for compass headings of 000 degrees to 179 degrees use odd 1000's plus 500 feet MSL and compass headings of 180 degrees to 359 degrees use even 1000's plus 500 feet MSL, so plan your altitude for flights accordingly. These flights use pre-programmed departure and destination airports and GPS waypoints that the flight plan will use. However, if you want to disconnect the autopilot and go stop at any of the other spots you discover along the way, feel free to go exploring. Once you get back on the flight path for the trip, you can re-engage the autopilot and the GPS route will then pick back up and continue on as originally planned.
Aircraft Used: This flight set uses the default Asobo Cessna Caravan 208.
Mission Leg completion: After you land at one of the leg destination airports, be sure to park your aircraft at a nearby parking spot that should be next to the airstrip and then set the parking brake. You'll need to shut down the lights, engine, battery and avionics and then the "Leg completed" window should activate. You'll be able to end the flight at that point, or you can choose to continue on for the next leg of the journey.
Enhancements and Tools: There are text to sound files used to share information along the flight route at various waypoints to enhance the experience. This is not a typical bush mission inside Microsoft Flight Simulator where you have to constantly look at your navlog. I personally found that cumbersome and sometimes incomplete. I enjoy using the various navigation tools available in a modern aircraft and you will have access to those tools to use at your disposal that will help keep the aircraft flying along the intended route on each flight. If you want to use the ATC, autopilot, GPS map, change the weather, refuel, etc. you should be able to accomplish those steps to make your flight more enjoyable. Want to just put the aircraft on autopilot and let that take care of everything, you can do that. Feel like the live weather is too harsh, change it to clear skies. Weather conditions are again entirely optional based on each individuals wishes. You'll start with clear skies but if you want live weather, select that or one of the simulator presets or go ahead and create your own conditions. Best of all is that you have choices that you can use to make this more in line with whatever conditions you prefer to fly in.
Time Changes: Set your preferred date and make time changes as well. The steps to make this happen go as follows: When you start out the adventure, and select the point of origin flight of the journey, it should start up at the flightplans desired parameters that were originally set when the plan was created. Once you get inside the cockpit you can change the date, time, weather and make things more to your liking if you want.
Mission Time Reset: However, I've discovered that when you choose to go ahead and continue on to the next leg of the trip, when the mission generates and finally loads up, you'll find that the engine will be running already and it will be early morning again?? This seems to happen no matter if you've completed the previous leg at 5PM in the afternoon, you'll start the next leg and the time will again be in the morning. This really breaks the flow of the journey immersion where my intentions were to have you fly several legs in succession during different hours of the day. To remedy this I've found a way to make things work.
Easiest way is to select the Weather Icon on the onscreen toolbar at the top of the screen in the simulation. It's the cloud icon. From there set real weather or choose your own preference. But the important note for this discussion is to select a time that follows the time of day you left off at. It's important to know what those times are so make a note as you land at each location along the way what time it is locally. Then, if you leave the adventure and return to discover it's early morning again, you can choose to change the time to match your last location timeframe and continue on your journey.
There's another way but slightly more involved if you prefer this pathway. Now you may already know this but I didn't. You need to do the following. After you start the next leg and you end up sitting in a cockpit of the aircraft with the engine already fired up and running, first you will need to turn off the engine using whatever key bindings that work for you. Then shut off any lights, the avionics and battery switches. Finally make sure you set the parking brake. Now hit the "ESC" key and go to the General Options menu inside the simulator. Once that opens, go to the "Developers" option and turn "Developer Mode" on. Next find the "Options" tab of the Developer Mode menu at the top of the screen and open that. Scroll down to the first slider bar which shows hourly increments. It will show "6H", "8H", "14H", etc. Slide that to the right or left to choose the preferred time of day you want to depart at. Let's say you were expecting to start this flight at 8AM. Slide that bar until it reads "8H" and voila, the sun will be up and you'll be able to begin your next leg at that time. It's just not as precise as the first option I described above. Then just close developer mode by turning it off in the options menu. Then close the general options menu selections by hitting "Apply and Save". Repeat this step for each flight on the subsequent legs of the adventure.
Weather Changes: The weather can be changed between live and preset weather using the "Cloud" icon menu inside the cockpit with the menu at the top of the screen. Choose a favored weather scenario. Live. Preset. Etc. Or set your own choices to customize as you see fit.
Refueling Aircraft: If you are parked at an airport that has a refueling location, you should be able to see the "Weight" icon on your cockpit menu. You can then add the fuel quantity you want at that time. Also you can create your own key binding to accomplish this. "Refuel and Repair" is the keystroke you want to look for.
There will be other options in the onscreen menu like the navlog, vfr map, settings, camera, etc.
Specifics:
This trip is a flight adventure set created by Brad Allen for use in Microsoft Flight Simulator. It's freeware and should remain that way. No part of this adventure can be re-purposed or included with any payware scenery collection. Any remodeling or editing of the contents of this package will need my permission please. This flight experience is the first part of a "Lets Fly To..." series of adventures that are being developed. This is a fictional flight for private enjoyment using that program. Look for follow on adventure flights all around the world in the future.
If you'd like to send me compliments, critique, give me feedback or even a small donation if you'd like to help inspire me to make more of these adventures, please email me at: [email protected] or use my paypal.me/bradallen43.
Thanks and enjoy your flight.
Copyright 2023 by Brad Allen

 bradallen43


I am 73yo, and one thing had me stumped......I don't know if it is a limitation of the trip generator or not shutting down on the runway. Took me a lot of taxxiing, shutdowns, re starting moving etc until I cottoned on to the requirement.
Look forward to your next adventure, Cheers, Bob (cporses)
9 months ago
9 months ago
bradallen43
cporses
9 months ago
9 months ago
bradallen43
Brainflight
9 months ago
9 months ago
bradallen43
Brainflight
9 months ago
9 months ago
bradallen43
cporses
9 months ago
9 months ago
bradallen43
Coover65
It's never a routine profession and everyday is always different. Fly safe and I hope you have fun while doing it.
Brad
9 months ago
bradallen43